

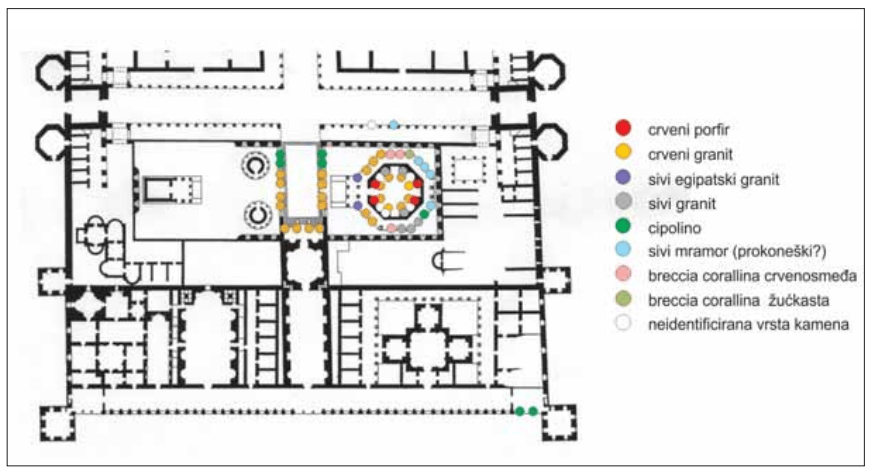
As the model itself is almost done, now comes a very difficult task of texturing it. My goal is to try and represent the model as close to the original as possible, so doing a lot of research was mandatory. Luckily for me, there are a lot of articles written by local historians and archeologists that describe almost every aspect of the Palace. I followed an article from Katja Marasović and Daniela Matetić Poljak in which they give a good overview of what types of stone were used in the Palace.
As an example, in the picture below from their article, represented by different colored dots, we can see the descriptions and types of stones that survive to this day around the Mausoleum (Cathedral). This was a valuable reference since they also further explain what other decorations might have looked like, that are not preserved.
The next step was to get out in the real-world and take the photos of existing stone and decoration and than come home and convert it to something usable using photo editing software. Below are some of the results.
This is Egyptian red granite stone that the pillars on the Peristyle square are made of. Photo taken on site.
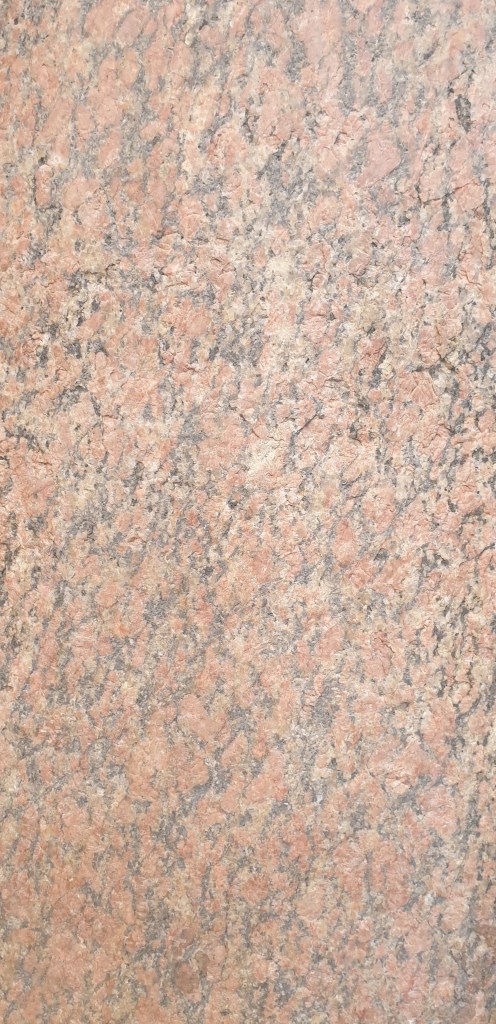
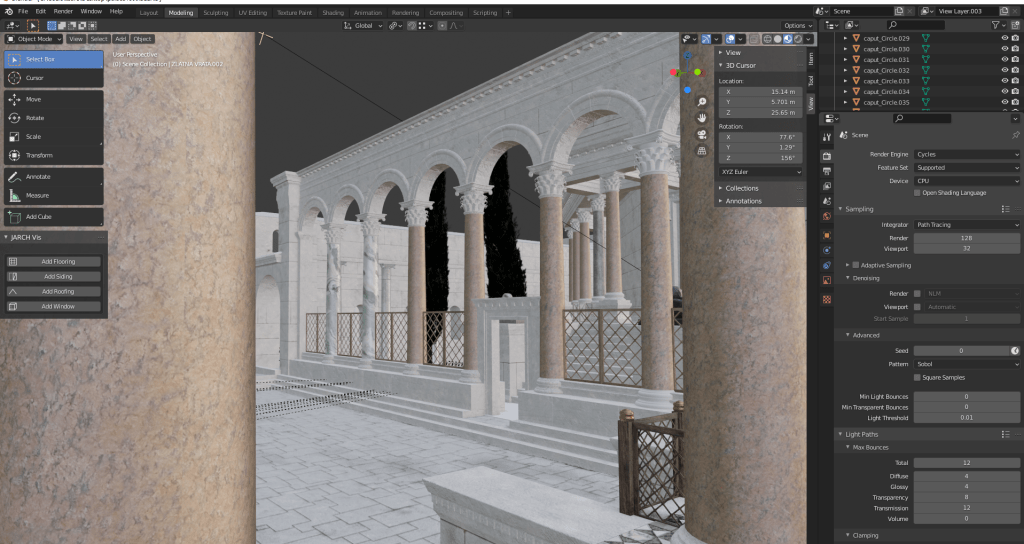
And this is the applied texture below.
Another example is this breccia corallina stone that makes some of the pillars that surround the Mausoleum. The picture below is a photo of the pillar I took at the Mausoleum.
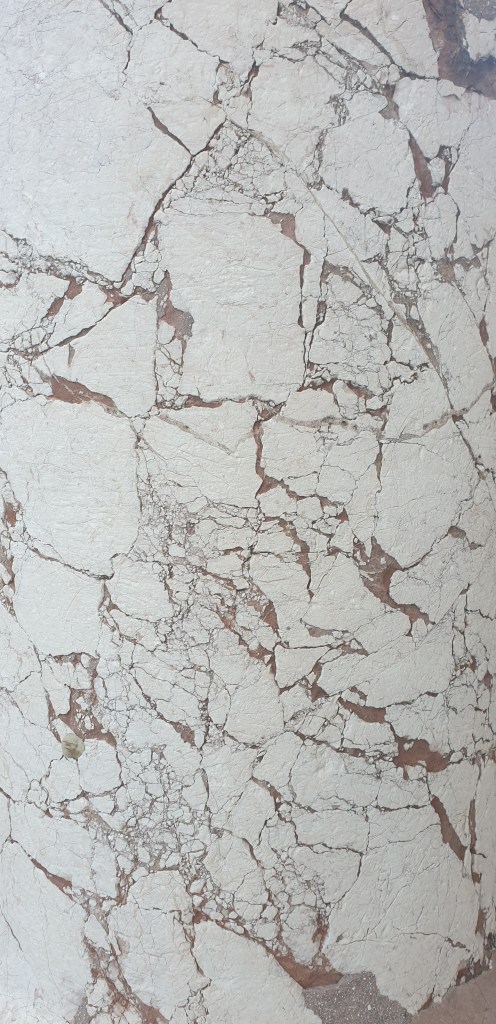
And below is the picture of how I applied it.
And on the picture below, we can see some of the other stone like grey Egyptian granite, cipollino green marble (that was hypothetically there) and some more of the red Egyptian granite at the entrance of the Mausoleum.

Limestone from the local quarries makes most of the stone Romans used in the Palace. Even though the Palace has a yellowish tint today, originally that stone was white when it was first installed and later, time gave it a patina that it has today. Luckily, our conservators have cleaned the original stone on many parts of the Palace, which gives a good insight into how the Palace originally looked but also gave me the opportunity to take the photo of the clean stone and use it on the model.
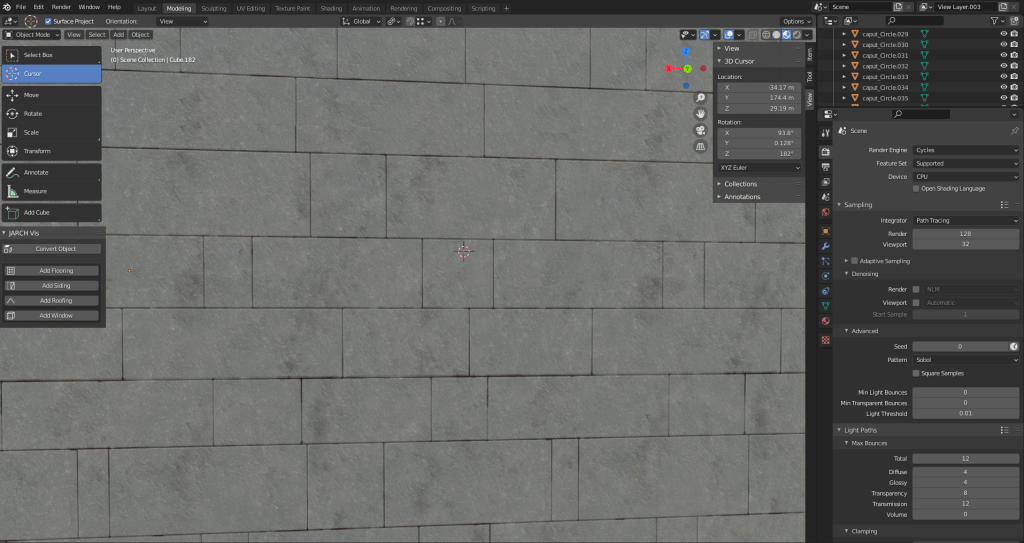
Below is the picture of the cleaned stones that make the northern wall of the Palace today. With some work, I had to convert it into a texture.

And below is the application. This still has some room for improvement, as I can come back later and try to eyeball it so it’s a bit closer to the original.
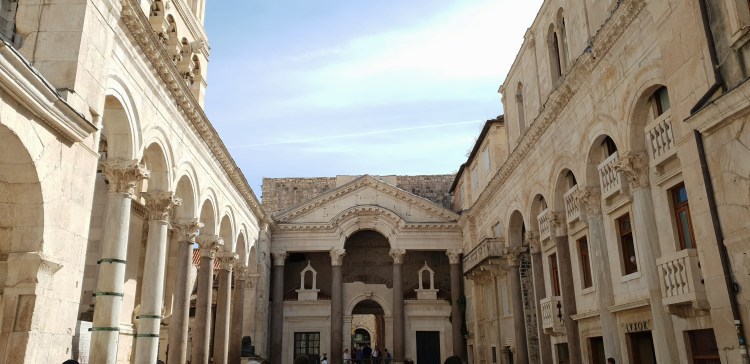
On the picture below we can see the Peristyle square as it is today. With the limestone getting that yellowish patina.
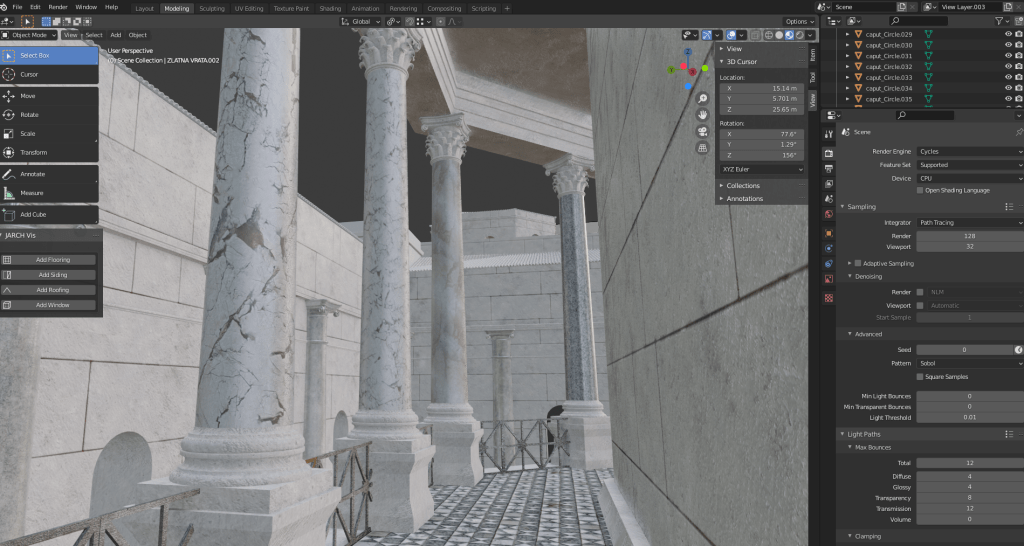
And bellow the current state in my model, where I’ve purposefully whitened the stones.

There is still a lot of work to do, after the textures I need to play with the light effects and post-processing to produce quality renders. But I am very happy as the learning process was great and I like the work done so far, hopefully It will be done in the near future!
Thank you for reading!


Thanks again, Toni, for a fabulous, most memorable tour today. We’ve already left a great review on trip advisor. Good luck with your career. You’ll go far, for sure.
LikeLike